Hypertrophy: Training to Failure vs. Leaving Reps in Reserve (RIR)
Stopping most working sets at RIR 1–3, and selectively placing failure sets in the back half of exercises you can end safely, is a manageable split. Research averages alone don't show a clear edge for training to failure on hypertrophy, but RIR 0 does have a role in calibrating your sense of reserve.
The question to compare isn't "which is harder" — it's which approach better supports weekly progress as a whole, once you account for stimulus to the target muscle, output preserved for later sets and next time, and how reproducible your stopping point is.
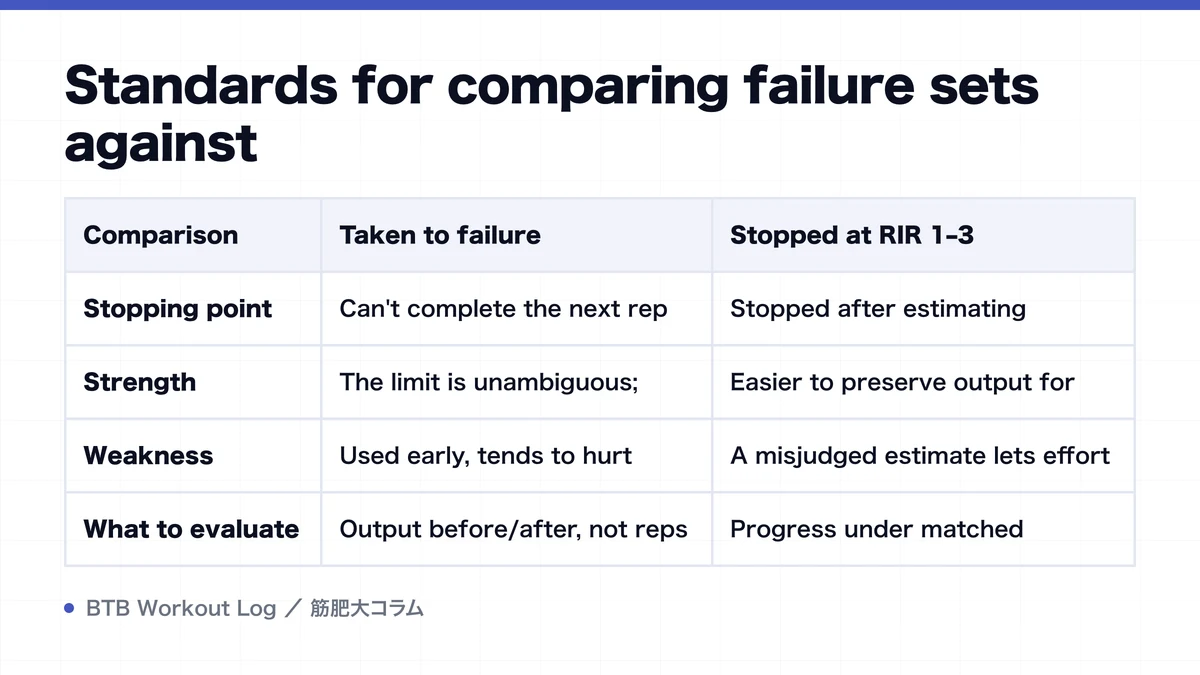
Standards for comparing failure sets against RIR-based sets
Failure here means a set taken, with intended form and range of motion held, to the point where the next rep can't be completed. That's distinct from stopping just because it got hard, or from a case where momentum could keep it going. RIR (Reps In Reserve) is an estimate of how many reps were left at the end — RIR 2 means you judged "I could do 2 more under the same conditions" and stopped there. See how to use RIR for detail.
What we're comparing here is a failure set at RIR 0 against RIR 1–3 — close enough to the limit to work as a hypertrophy-focused working set. Lumping in sets with RIR 5 or more as "the RIR side" turns the comparison into one about insufficient effort rather than failure or not. If set count, load, or rest differ substantially too, you can't attribute the result to the stopping point alone.
| Comparison | Taken to failure | Stopped at RIR 1–3 |
|---|---|---|
| Stopping point | Can't complete the next rep | Stopped after estimating completable reps |
| Strength | The limit is unambiguous; calibrates reserve | Easier to preserve output for later sets |
| Weakness | Used early, tends to hurt later-set reps | A misjudged estimate lets effort drift |
| What to evaluate | Output before/after, not reps failed | Progress under matched conditions, not the reported number |
Average hypertrophy effect doesn't crown failure the winner
Systematic reviews and meta-analyses comparing failure and non-failure training find no clear overall difference in hypertrophy, and conclude that training to failure isn't a necessary condition for muscle gain. A separate meta-analysis on proximity to failure likewise found no evidence that training to momentary muscular failure beats non-failure conditions, and states that hypertrophy doesn't necessarily rise in a straight line the closer you get to the limit.
Reading this average result as "any RIR is the same" goes too far, though. Studies differ in how much reserve their non-failure group left, load, total volume, how failure was defined, and participant experience. As with the effects and costs of training to failure, which covers the failure/non-failure difference in more detail, what research is removing is the claim that "you can't grow without failing" — it isn't guaranteeing that a set far from the limit is equally effective.
In practice, start by holding the target muscle's movement steady around RIR 1–3 and check whether load or reps can progress. Pushing closer to the limit gains value in cases where light load makes reserve easy to misjudge, or where something other than the target muscle stops you partway through a high-rep set. How proximity to failure interacts with load also needs separating out — see how RIR shifts stimulus.
Compare fatigue and time efficiency across the whole session, not one set
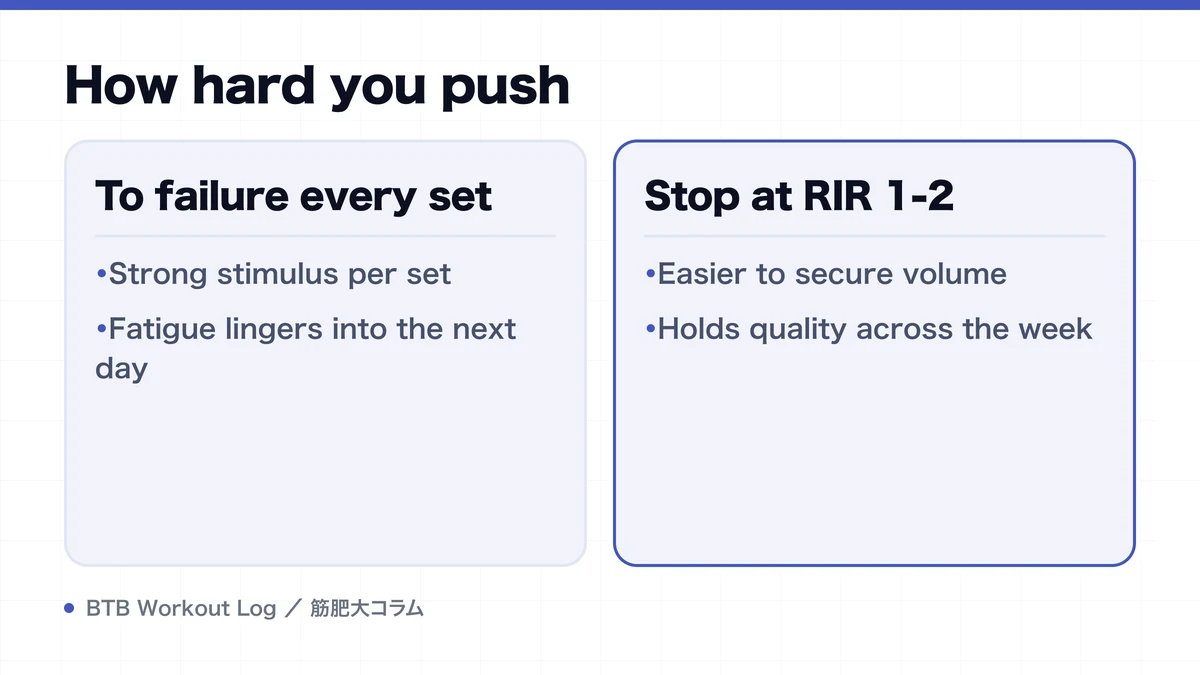
A failure set has an unambiguous stopping point, but that clarity comes at a cost. Take the first set of the first exercise to failure, and later sets on that exercise, or exercises later in the session, tend to lose reps. The failure set itself may look strong in isolation, but the picture changes once you factor in how many quality-form reps remain for the back half.
Stopping at RIR 1–3 doesn't extract every rep right up to failure each time, but it's a way to spread output across multiple sets. That advantage disappears, though, if you rush through short rest periods or report RIR 2 when it was actually RIR 5. Leaving reserve isn't the same thing as lowering set effort.
Should you push to failure on a short-time day?
If you can only manage 1–2 sets on a safe exercise that day, taking the last set close to failure reduces the uncertainty of insufficient stimulus. Even so, "one failure set always replaces multiple non-failure sets" doesn't hold universally. If it forces longer rest, or wrecks reps on other exercises, the session as a whole may not actually shorten. Judge time efficiency not by how fast you reach failure, but by whether you fit your needed weekly hard sets into limited time while keeping quality.
RIR is convenient for load setup; failure sets are useful for calibration
The strength of leaving RIR is that it lets you adjust load to match that day's output. The same 8 reps might land at RIR 1 one day and RIR 4 another, depending on sleep or lingering fatigue. Setting the target as "8 reps at RIR 2" rather than just "8 reps" lets you fine-tune weight to hold intended effort. It also separates whether reps rose because RIR dropped at the same weight, versus reps rising at the same RIR — making progressive overload easier to read.
The weak point is that RIR is a self-estimate, not a measuring instrument. A study measuring the load corresponding to RIR 1 across 3-, 5- and 8-rep sets of bench press and deadlift in young novice men found high test-retest reliability. But that alone doesn't establish the same precision for experienced lifters, high-rep sets, or every exercise. Even a finely graded RIR value drifts off if your own prediction is off.
This is where a failure set becomes a calibration reference point. On a machine or single-joint exercise you can end safely, occasionally continuing from your predicted RIR 1 to the actual failure point lets you check the reps that were really left. If you get 3 or more reps beyond your prediction, your everyday RIR estimate may be running generous. Failure isn't a prescription for every set — it also works as a way to recalibrate the RIR scale itself.
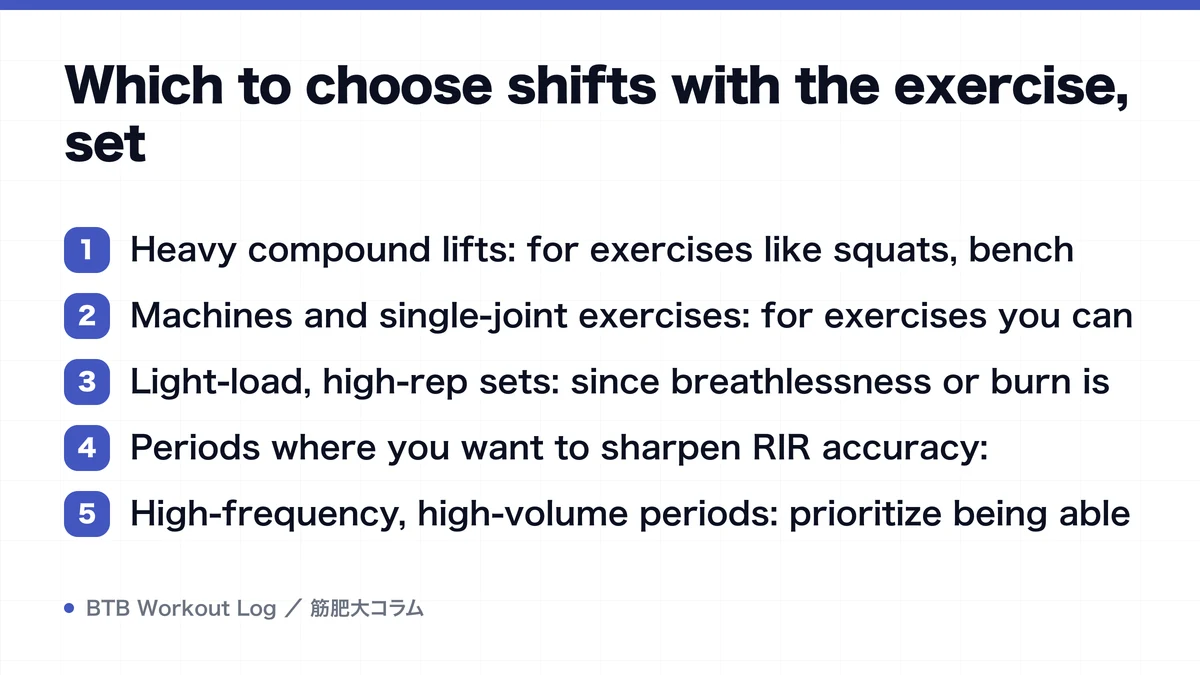
Which to choose shifts with the exercise, set placement and purpose
You don't need to force your whole routine into an either/or between failure and RIR. Placing both within the same day, with distinct roles, captures the benefit of both.
- Heavy compound lifts: for exercises like squats, bench press or rows, where failure risks technical breakdown or safety, center on RIR 1–3. This also protects your ability to practice strength output and preserves quality for later sets.
- Machines and single-joint exercises: for exercises you can end safely, where the target muscle itself tends to be what stops you, the final set is a candidate to push toward RIR 0–1. Leave reserve on earlier sets so you can distribute reps across the exercise.
- Light-load, high-rep sets: since breathlessness or burn is easy to mistake for the true limit, occasionally check the actual failure point. Rather than failing every time, confirm whether the stopping reason really was the target muscle's inability to continue.
- Periods where you want to sharpen RIR accuracy: periodically test true failure on the same safe exercise and log the gap against your everyday estimate. Once calibrated, you can return to centering on RIR 1–3.
- High-frequency, high-volume periods: prioritize being able to restore the same movement quality by next time over a single maximal effort. If you do add failure sets, change only one exercise at a time.
Psychological fit matters too. Some people focus better with a clear stopping point; for others, failing every time becomes a burden that hurts consistency. The final standard isn't which sensation you prefer — it's whether your preferred method lets you sustain the planned weekly volume and progress.
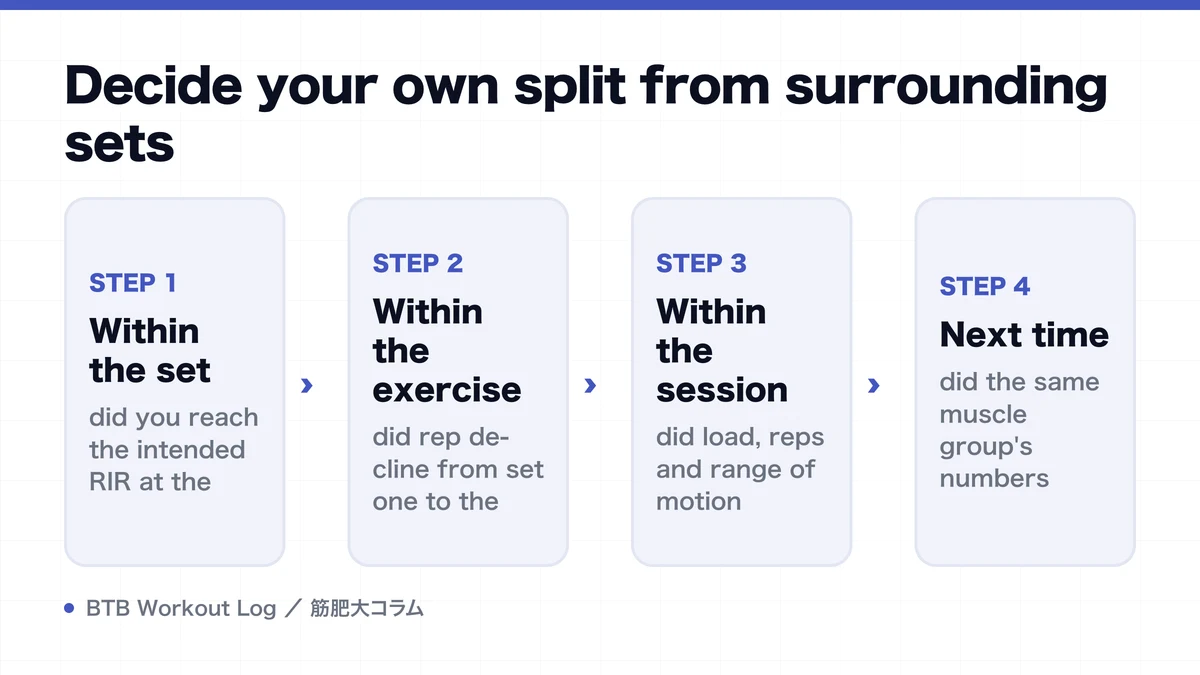
Decide your own split from surrounding sets and next-session numbers
If you're unsure, pick just one exercise and hold RIR 1–2 for the first 3–4 weeks. For the next 3–4 weeks, keep set count, rep range, rest and exercise order unchanged, and take only the final set to failure. Rather than judging hypertrophy amount itself in this short window, compare how the change in stopping point affected training quality and progress.
- Within the set: did you reach the intended RIR at the same weight and form?
- Within the exercise: did rep decline from set one to the final set increase?
- Within the session: did load, reps and range of motion hold on later exercises?
- Next time: did the same muscle group's numbers return and progress over several weeks?
If load or reps keep progressing at RIR 1–2 and later sets stay stable, the case for adding failure sets is weak. Conversely, if you thought you were leaving RIR but were actually far from the limit and progress has stalled, a safe final-set failure test becomes diagnostic. If reps decline more broadly after switching to failure and don't return by next time, raise RIR by 1–2 or reduce how often you go to failure.
Don't call a day a success just because you failed — decide which split actually supported progress next time, from a multi-week trend.
FAQ
- Should every set be standardized at RIR 2 for hypertrophy purposes?
- RIR 2 is an easy starting point, but there's no need to fix it across every exercise. Adjust — RIR 2–3 for heavy compound lifts, RIR 0–1 on the final set of a stable machine exercise — based on safety at failure, the effect on later sets, and how readable RIR is for that exercise.
- How many weekly failure sets is too many?
- There's no ceiling shared by everyone. Start by placing it only on the final set of one exercise, and check rep decline on later exercises plus recovery by next time. Maintain it if progress holds; scale it back if output keeps declining.
- If I'm bad at estimating RIR, is it more accurate to just go to failure every time?
- You don't need to every time. Periodically go to true failure on the same safe exercise and check the gap between your predicted reserve and the actual result. Feeding that calibration back into your everyday RIR setting improves accuracy without carrying failure's fatigue cost every set.
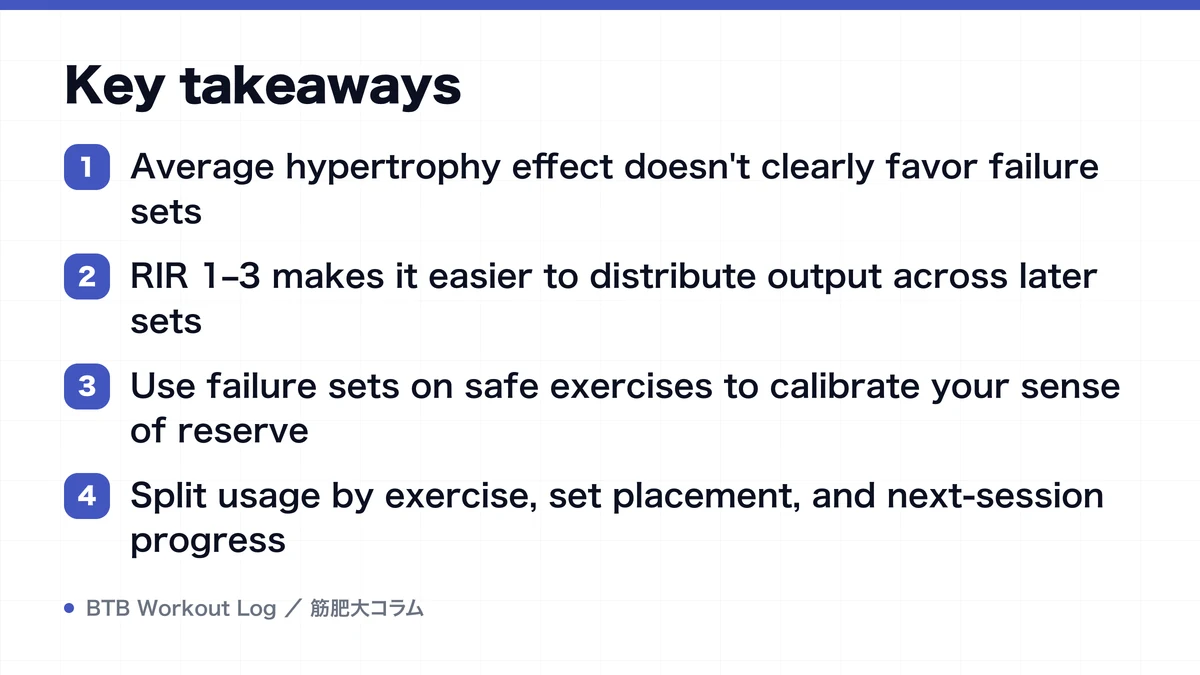
Key takeaways
- Average hypertrophy effect doesn't clearly favor failure sets
- RIR 1–3 makes it easier to distribute output across later sets
- Use failure sets on safe exercises to calibrate your sense of reserve
- Split usage by exercise, set placement, and next-session progress
References
- Training to Repetition Failure or Non-failure: Systematic Review and Meta-analysis
- Exploring the Dose-Response Relationship Between Estimated Resistance Training Proximity to Failure, Strength Gain, and Muscle Hypertrophy: A Series of Meta-Regressions
- Repetitions in Reserve Is a Reliable Tool for Prescribing Resistance Training Load