5 Reasons You Don't Feel Bench Press in Your Chest | Form Fixes for Lifters Whose Shoulders and Arms Take Over
If you cannot feel the bench press in your chest, first check whether the weight is too heavy to maintain your range of motion and bar path. Reducing the load by around 10–20% and restoring consistent shoulder-blade, forearm, and touch-point positions may stop your shoulders or arms from failing first.
The bench press is a compound exercise for the chest, anterior deltoids, and triceps. Do not chase chest sensation alone. Watch where your form changes and which muscle ends the set. Test each possible cause in sequence, then compare your performance before and after under the same conditions.
Separate a Weak Pump From a Lack of Chest Tension
Your chest does not need to feel hot after benching for it to be working. A pump, soreness, and mind-muscle connection are supporting clues, not definitive measures. The real warning signs are that your triceps or shoulders consistently reach their limit first despite using the same range of motion, your chest shows no medium-term development, or increasing the load removes the range in which your chest can contribute.
The mechanics behind early triceps fatigue are covered in Why Your Triceps Fatigue First on Chest Day. Here, we will focus on 5 causes you can address by changing your bench press setup and execution.
Fixing your form is not a contest to maximize chest sensation. The goal is to keep your shoulders and elbows comfortable, reach a consistent depth that stretches your chest, and maintain your bar path through the final few reps.
Fix the Load, Shoulder Blades, and Touch Point First
Cause 1: The Weight Is Too Heavy to Maintain Depth
Near-limit weights often lead to compensations such as reversing the bar before it reaches your chest, lifting your glutes, or letting the bar wobble from side to side. Reduce the load by around 10–20% and perform every rep to the same depth within a 6–12 rep range. You can still train close enough to failure with a lighter weight, so do not assume that less weight means less stimulus.
Cause 2: Your Shoulders Drift Forward and Collapse Your Base
As you unrack the bar, lightly pull your shoulder blades together and down, then anchor your upper back against the bench. If your shoulders rise toward your ears during the descent or roll forward at the top, your base changes on every rep. Keep your chest up, but do not excessively arch your lower back just to shorten the range of motion.
Cause 3: Your Touch Point and Elbow Path Do Not Match Your Hand Position
Lowering the bar toward your neck with your elbows flared directly outward tends to shift stress toward the front of the shoulders. Touching too far toward your abdomen can turn the movement into an elbow-extension-dominant press. Adjust the touch point between the middle and slightly lower chest so your elbows are directly beneath your wrists at the bottom. Filming from the side makes it easier to check whether your forearms remain nearly vertical to the floor.
Check Whether Grip or Pre-Fatigue Is Hiding Your Chest Output
Cause 4: Your Grip Width Does Not Suit Your Build or Goal
A grip that is too narrow requires more elbow flexion and extension, making the triceps more likely to become the limiting factor. A grip that is too wide increases horizontal shoulder abduction and may reduce shoulder comfort or range of motion. Start with a width that keeps your forearms nearly vertical at the bottom, then compare positions by moving each hand 1 finger-width at a time. Keep your wrists stacked and position the bar over your forearms.
In a study where competitive bench press athletes performed a 6RM using different grip widths and bench angles, researchers found no major differences in surface muscle activity in the chest or shoulders, although the loads lifted did differ. Acute measurements cannot establish one optimal grip width for everyone. Choose based on shoulder comfort and whether your chest becomes the limiting factor.
Cause 5: Your Shoulders or Triceps Are Fatigued Before Your Chest Gets a Chance
Shoulder presses, close-grip presses, triceps exercises, or overly short rest periods immediately before benching can fatigue the assisting muscles first. During the correction phase, place the bench press first in your chest workout and rest around 2–3 minutes between working sets. If you train your shoulders or triceps at high volume the previous day, separate those sessions in your weekly schedule as well. If changing the exercise order makes your chest reach its limit first, pre-fatigue—not form—was the main cause.
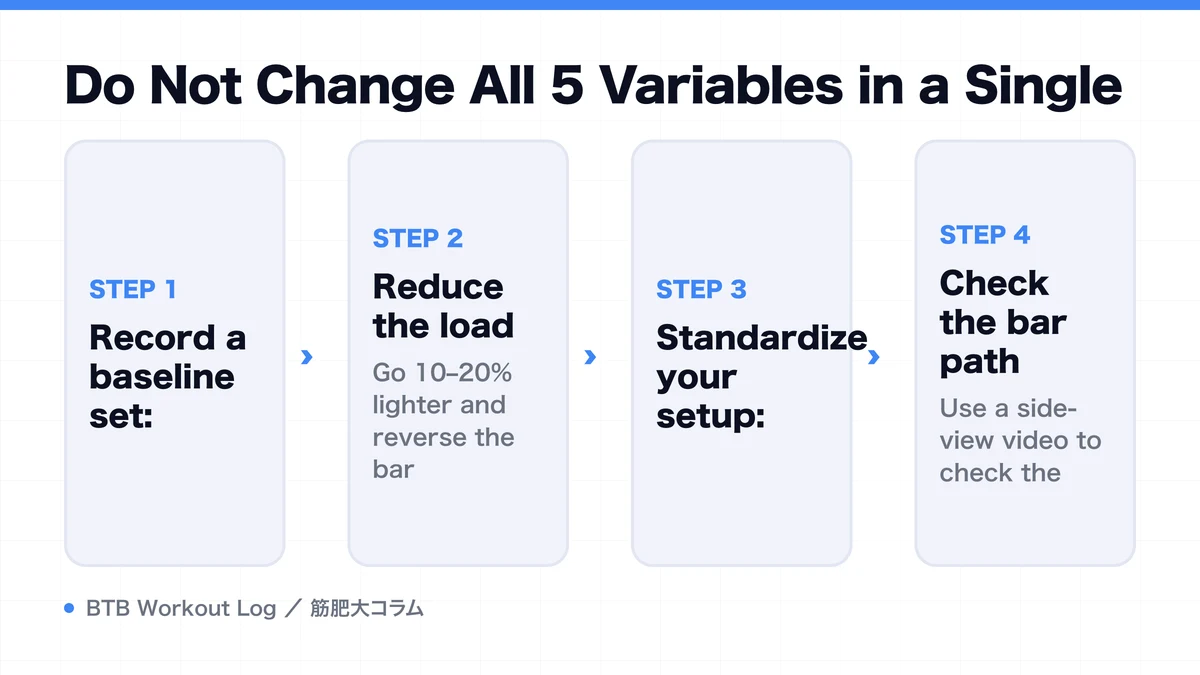
Do Not Change All 5 Variables in a Single Workout
If you change everything at once, you will not know what worked. In the first workout, isolate load and range of motion. Next, address your shoulder blades and touch point. Finally, test your grip and weekly exercise schedule.
- Record a baseline set: Film just 1 set at your usual weight and record the reps, reps in reserve, touch point, and bottom depth.
- Reduce the load: Go 10–20% lighter and reverse the bar from the same position on your chest for every rep.
- Standardize your setup: Fix your eye position relative to the bar, stance width, grip marks, and shoulder-blade position.
- Check the bar path: Use a side-view video to check the vertical alignment of your wrists and elbows and whether the bar travels over your forearms.
- Record the limiting factor: Note in one word whether your chest, triceps, shoulders, or breathing ended the set.
Do not use an extremely slow tempo while correcting your form; simply control the lowering phase. Touching your chest is not the goal by itself. Use the deepest position at which you can keep your shoulders stable. If you experience sharp pain or discomfort that does not resolve with a form adjustment, stop benching for the day and consult a qualified professional if needed.
Compare Sensation, Bar Path, and Progress Across 3 Chest Workouts
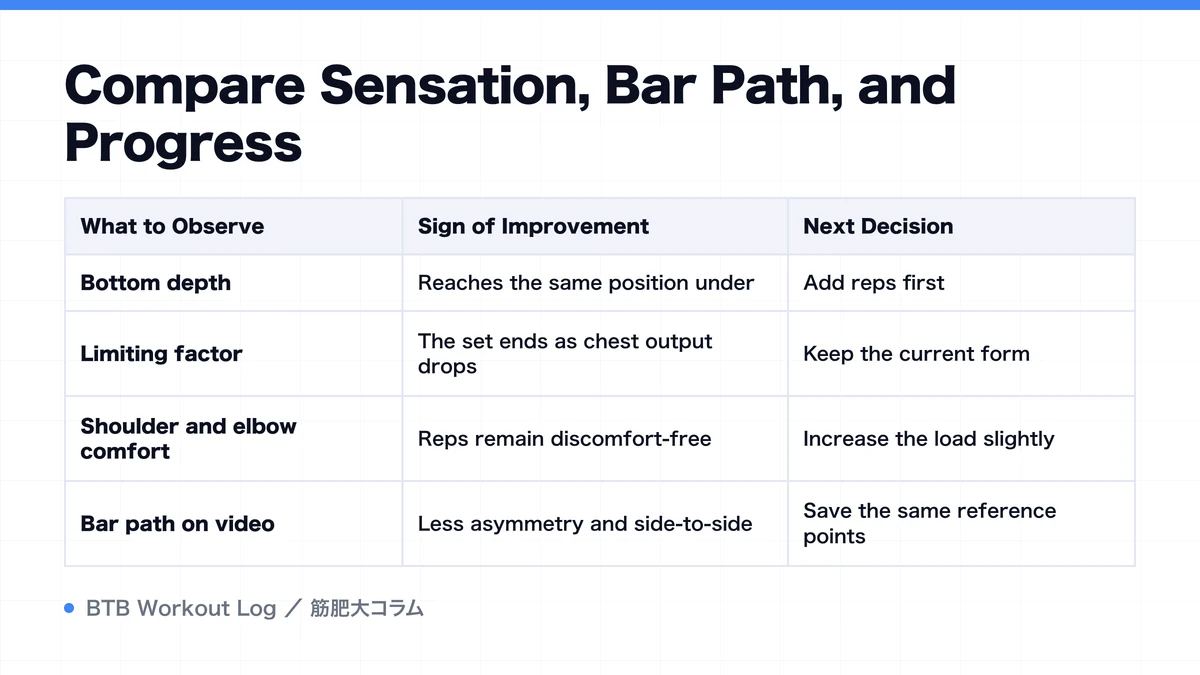
Do not judge the correction by how well 1 set seemed to hit your chest. The novelty and pump from using a lighter weight can distort your assessment. Use the same grip, touch point, and range of motion for 3 workouts. Compare the percentage of sets in which the chest became the limiting factor and whether your bar path broke down on the final rep.
| What to Observe | Sign of Improvement | Next Decision |
|---|---|---|
| Bottom depth | Reaches the same position under fatigue | Add reps first |
| Limiting factor | The set ends as chest output drops | Keep the current form |
| Shoulder and elbow comfort | Reps remain discomfort-free | Increase the load slightly |
| Bar path on video | Less asymmetry and side-to-side drift | Save the same reference points |
Your working weight may temporarily drop even after you learn to press with your chest. If you are now using a deeper range of motion, do not compare kg alone. Over 6–8 weeks, check whether your reps or load recover under the same conditions and whether your chest development progresses. Use When the Chest Becomes the Limiting Factor to decide whether the bench press alone is enough, and Diagnosing a Bench Press Plateau to troubleshoot a broader lifting plateau.
FAQ
- Can the Bench Press Still Produce Chest Hypertrophy if I Cannot Feel It?
- A weak sensation does not necessarily mean your chest is not working. There is no problem if your performance improves through the same range of motion, your chest becomes the limiting factor, and its development progresses. Make corrections if your shoulders or triceps consistently fail first.
- Can I Lower the Weight to Make the Bench Press Hit My Chest?
- Reducing the load by around 10–20% is a useful way to restore your range of motion and bar path. Do not leave too much in reserve after going lighter. Keep every rep consistent and finish with around 1–3 reps in reserve.
- Should I Keep My Shoulder Blades Retracted at the Top?
- During the bench press, stabilize your upper back against the bench and maintain a position that prevents your shoulders from shifting far forward during each rep. If forcing them into place causes pain, do not push through it; reassess your range of motion or equipment.
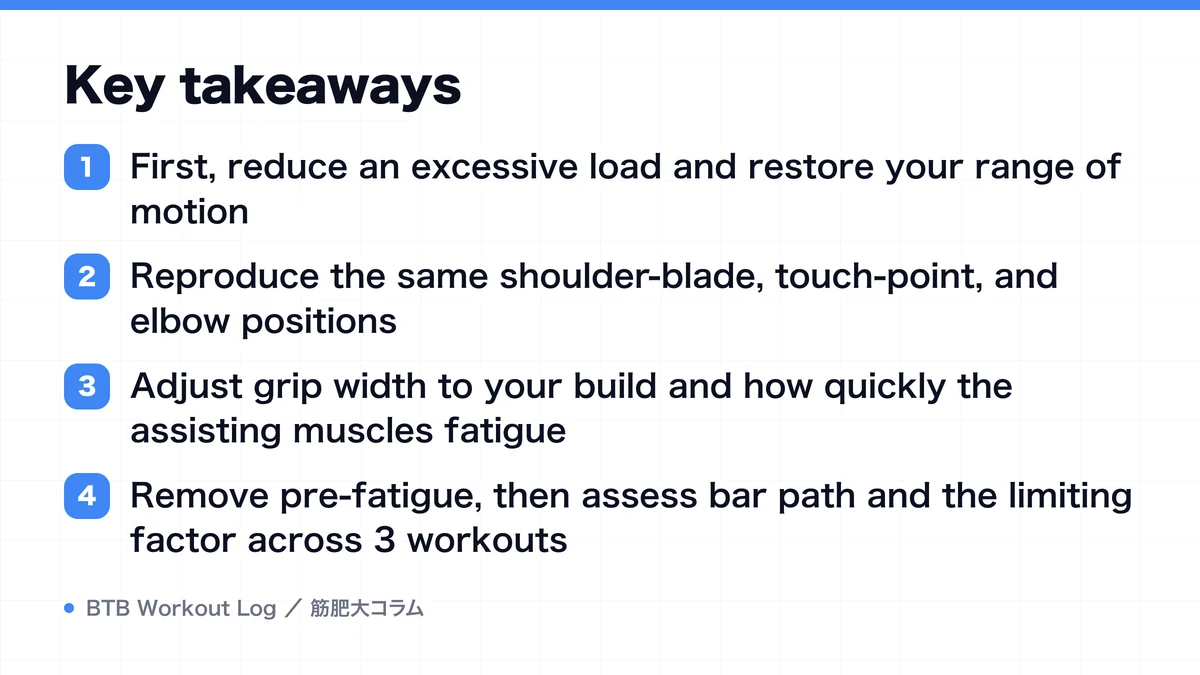
Key takeaways
- First, reduce an excessive load and restore your range of motion
- Reproduce the same shoulder-blade, touch-point, and elbow positions
- Adjust grip width to your build and how quickly the assisting muscles fatigue
- Remove pre-fatigue, then assess bar path and the limiting factor across 3 workouts