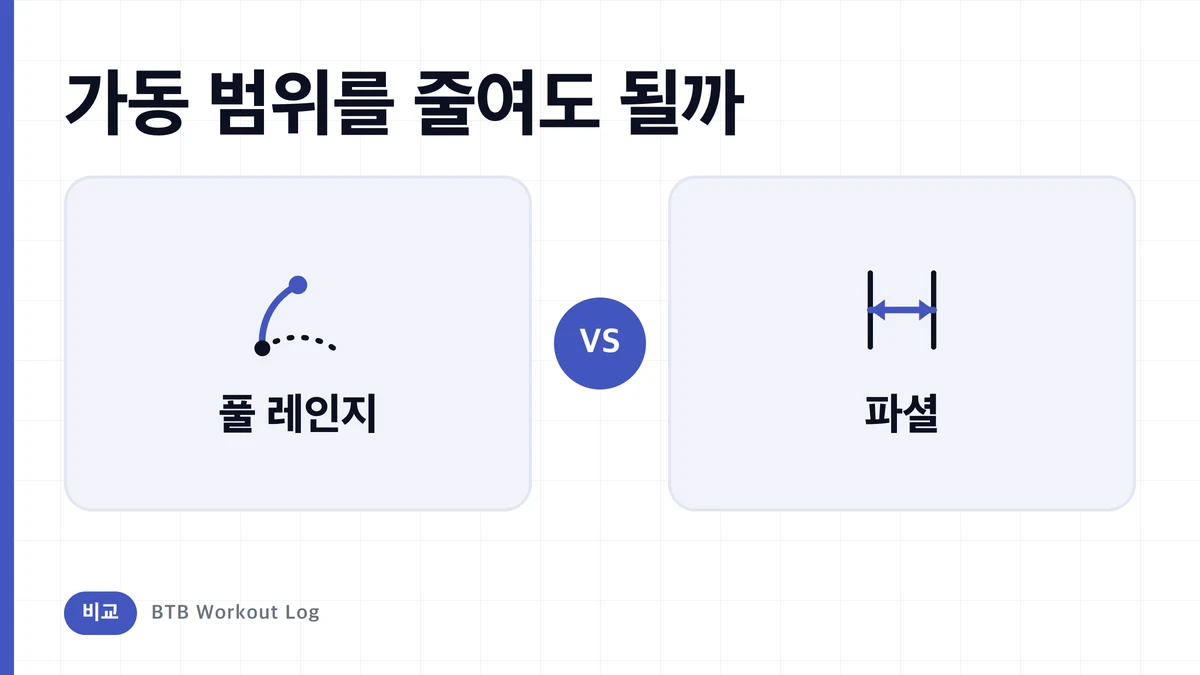
풀 레인지 vs 파셜, 근비대에 효과적인 쪽은? 흔들리기 시작한 상식을 연구로 확인
근비대 기준으로는 풀 레인지가 사용하기 편한 반면, 긴 근길이 쪽으로 제한한 파셜은 종목과 목적이 맞으면 유효한 선택지입니다. 짧은 근길이 쪽 파셜까지 한데 묶어 "동등"으로 취급할 수는 없습니다.
비교해야 할 것은 바의 이동 거리가 아니라 어느 근길이에서 목표 근육에 장력을 가할 수 있는지, 피로 대비 유효한 반복을 쌓을 수 있는지, 같은 조건에서 진전을 추적할 수 있는지입니다.
풀 레인지와 파셜을 비교하기 전에 구간을 정의하기
풀 레인지는 관절의 물리적 극한까지 움직이는 것이 아닙니다. 목표 근육에 부하를 유지하고 통증이나 큰 대상작동 없이 제어할 수 있는 시작점부터 종료점까지를 사용하는 방법입니다. 개인의 골격이나 기구에 따라 끝점은 달라지지만, 같은 종목을 평가하는 동안은 그 끝점을 맞춥니다. 자세한 기준은 풀 레인지가 기본으로 간주되는 이유에서 다룹니다.
반면 파셜 레인지는 풀 레인지의 일부만 반복하는 방법입니다. 다만 목표 근육이 늘어난 위치를 사용하는 긴 근길이의 파셜, 수축한 위치를 사용하는 짧은 근길이의 파셜, 정지점 근처만 사용하는 파셜은 자극과 목적이 다릅니다. "파셜"이라는 한 단어로 묶으면 비교 자체가 무너집니다.
더불어 같은 중량·반복 횟수로 비교하는 것도 주의가 필요합니다. 가동 범위를 줄이면 일반적으로 무거운 중량을 다루기 쉬워지고, 같은 중량이면 반복 횟수를 늘리기 쉬워집니다. 하지만 이동 거리와 근길이가 바뀐 반복은 같은 작업이 아닙니다. 근비대 효과, 국소 피로, 시간, 부하 설정, 재현성이라는 여러 축을 나눠서 평가합니다.
평균적으로는 풀 레인지가 무난. 다만 긴 근길이는 예외가 될 수 있다
풀 레인지의 강점은 목표 근육을 한 반복 내에서 넓은 근길이에 걸쳐 작동시키기 쉽다는 점입니다. 특정한 짧은 구간만 치우치지 않고 종목이 가진 저항 곡선을 두루 사용할 수 있으므로, 가동 범위를 선택할 명확한 이유가 없을 때의 기준이 됩니다. 동작과 끝점을 고정하면 중량이나 반복 횟수의 증가도 비교하기 쉬워집니다.
다만 파셜이 항상 떨어지는 것은 아닙니다. 목표 근육이 늘어난 위치에서 충분한 저항을 받는 종목에서는, 긴 근길이의 파셜이 풀 레인지에 가까운 근비대를 낳거나 측정 부위에 따라 유리할 수 있습니다. 중요한 것은 "반만 움직인 것"이 아니라 생략한 구간과 남긴 구간 중 어느 쪽에서 목표 근육으로의 장력이 더 큰지입니다. 가동 범위가 자극을 바꾸는 방식은 가동 범위로 자극이 바뀌는 원리와 함께 보면 정리하기 쉬워집니다.
이 경향을 전신의 모든 종목으로 확대하는 것은 시기상조입니다. 근육, 종목, 기구의 저항 방향, 훈련 경력, 근비대의 측정 위치가 달라지면 결과도 달라질 수 있습니다. 짧은 근길이의 파셜에 대해서는 긴 근길이와 같은 기대치를 둘 근거가 약하며, 주 목적이 수축감이나 특정 구간 연습이라면 근비대의 주축과 분리해서 생각하는 것이 안전합니다. 평균적인 출발점은 풀 레인지, 긴 근길이의 파셜은 조건부의 대체 또는 추가라는 순서가 실용적입니다.
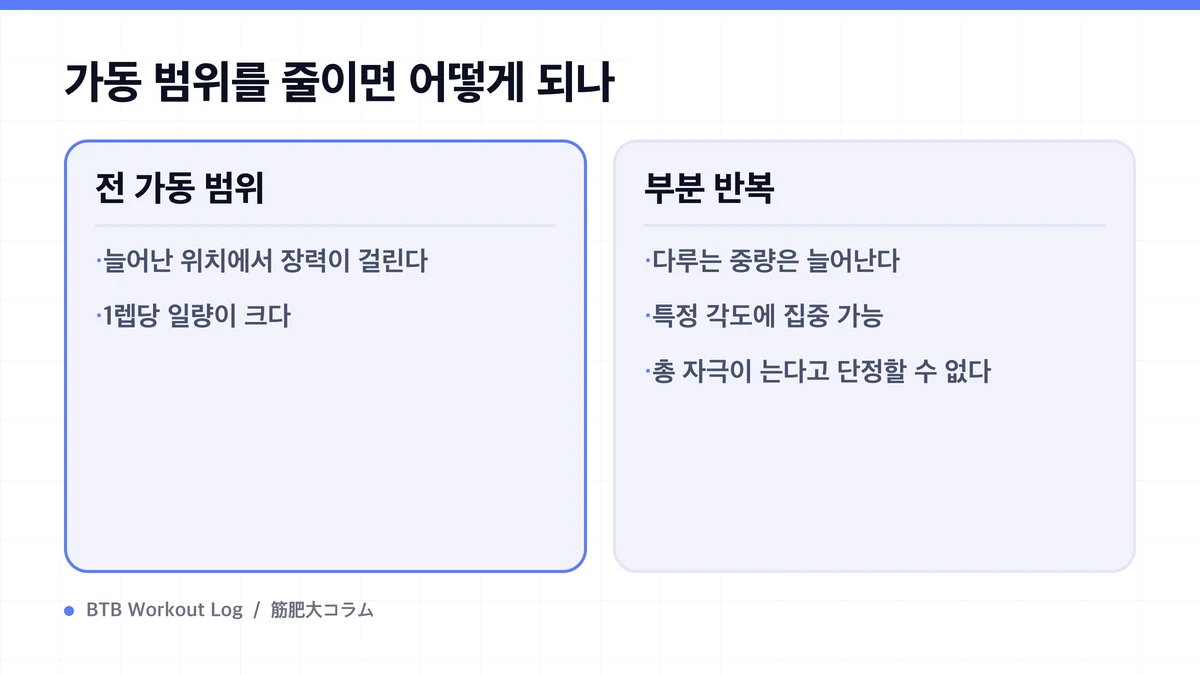
짧은 가동 범위는 빠르지만, 자극까지 효율적이라고는 할 수 없다
파셜은 한 반복의 이동 거리가 짧으므로 같은 횟수라면 세트 시간을 단축하기 쉽고, 풀 레인지에서는 멈추는 구간을 피해 반복을 추가할 수 있습니다. 안정된 머신이나 단관절 종목에서 풀 레인지 세트 후 긴 근길이의 반복을 소량 더하는 사용 방식은 목표 근육에 추가 자극을 모으기 쉬운 상황이 있습니다.
하지만 반복 횟수가 늘어난 것을 그대로 시간 효율이나 근비대 효과의 향상으로 봐서는 안 됩니다. 짧은 구간의 20회와 풀 레인지의 20회는 한 반복의 내용이 다릅니다. 고중량 파셜에서 보조 근육이나 관절로의 부담이 증가하거나, 약한 구간을 피한 결과로 목표 근육으로의 자극이 치우칠 수도 있습니다. 반대로 풀 레인지에서는 자세 유지나 전환에 전신 피로를 너무 많이 사용해 목표 근육을 충분히 고갈하기 전에 세트가 끝나는 종목도 있습니다.
시간 효율은 "한 세트가 몇 초 짧은가"가 아니라 목표 자극을 얻기 위해 몇 세트가 필요한지, 다음까지 회복할 수 있는지까지 포함해 판단합니다. 파셜을 채택해 세트 수를 계속 늘리면, 단축한 시간 이상으로 회복 비용이 불어날 수 있습니다. 반대로 풀 레인지에서 제어할 수 없는 끝점에 매번 시간을 쓴다면, 가동 범위나 종목 선택을 다시 검토할 가치가 있을 수 있습니다.
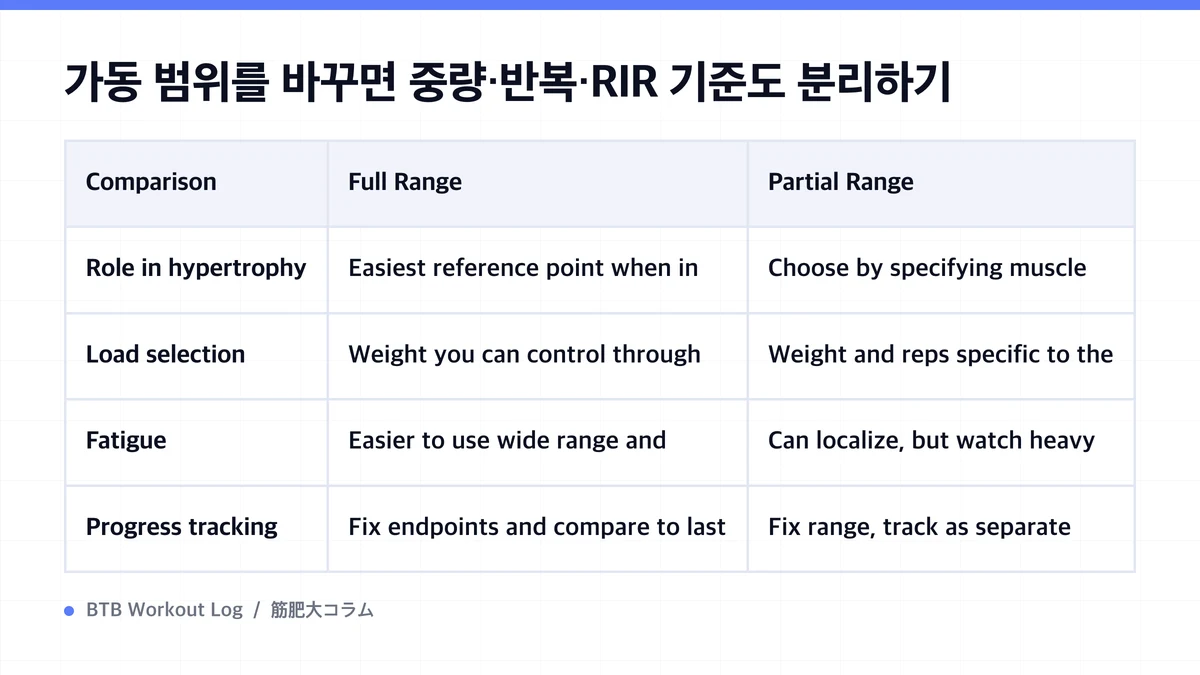
가동 범위를 바꾸면 중량·반복·RIR 기준도 분리하기
| Comparison | Full Range | Partial Range |
|---|---|---|
| Role in hypertrophy | Easiest reference point when in doubt | Choose by specifying muscle length and purpose |
| Load selection | Weight you can control through full range | Weight and reps specific to the limited range |
| Fatigue | Easier to use wide range and supporting muscles | Can localize, but watch heavy load escalation |
| Progress tracking | Fix endpoints and compare to last session | Fix range, track as separate variation |
Changing 가동 범위 alters difficulty even at the same weight, so you can't carry over previous RIR. RIR shows how many reps remain, but a weight at RIR 2 in full range isn't RIR 2 in partial range. Keep some 여력 for the first few reps to lock in the range, then set RIR and 렙 범위 specific to that condition.
In your log, mix full range and partial range under the same lift name less often—it keeps interpretation clean. Note the start and end points with short cues like "bottom half," "knee angle marker," or "pause at chest," then track as a separate variation. This prevents mistaking a jump in weight from shortened 가동 범위 as real 점진적 과부하.
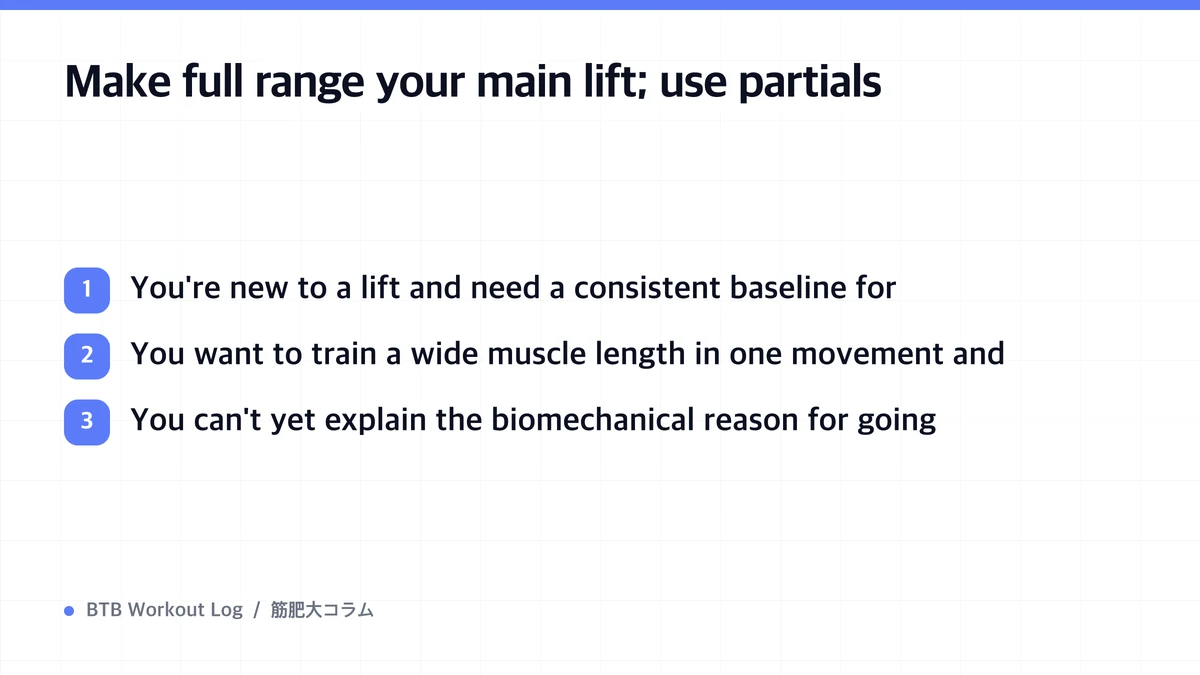
Make full range your main lift; use partials when you can describe the purpose in one sentence
When to lean toward full range
- You're new to a lift and need a consistent baseline for progress
- You want to train a wide muscle length in one movement and avoid imbalances
- You can't yet explain the biomechanical reason for going partial
When to consider longer-length partials
- Tension holds even at stretched position, and the movement stays stable
- Your goal is to add reps after full-range sets with clear intent
- You can keep that range separate from full range for weeks and compare responses
Shorter-length partials gain value when purpose goes beyond 근비대—technical work in a narrow band, control at peak contraction, sport-specific carryover. If you shorten 가동 범위 to avoid pain, continuing within a pain-free range makes sense, but don't use that as a reason to chase heavy weight blindly. Rather than lock form into one look, separate non-negotiable rules from adjustable ones—a principle covered in depth in form adjustment guidelines.
To compare fairly, keep 주간 세트 수 and effort level equal, and lock 가동 범위 for weeks. During that time, watch target muscle performance, any discomfort, 회복 between sessions, and weight and rep trends. Your best choice isn't the average winner but the range you can repeat, sustain progress in, and recover from. Don't lump different 가동 범위 under the same personal record—the comparison breaks. BTB Workout Log lets you track variations separately.
자주 묻는 질문
- Can I build a program using only longer-length partials?
- It may work for certain muscles and lifts, but you don't need to replace every movement. Start with full range as your baseline, then pilot longer-length partials as a separate variation only for lifts where stretched-position tension holds. This keeps stimulus balanced and progress easier to judge.
- If partial range lets me use heavier weight than full range, is partial higher intensity?
- Heavier absolute weight doesn't mean more target muscle stimulus—distance traveled, muscle length, and difficulty curve all change. Set weight, reps, and RIR specific to partials, and rate them separately from full-range personal records.
- Is it effective to add partials after reaching failure in full range?
- If the lift is stable and you maintain longer length, it can add stimulus. But if you do it every set, fatigue and total volume climb. Start by limiting it to your final few sets, then watch for next session rep drops and joint discomfort before adjusting volume.
정리
- Full range sets a reliable baseline for wide muscle length and reproducible progress
- Partials: separate longer-length and shorter-length work in your assessment
- When you change 가동 범위, track weight, reps, and RIR under separate conditions
- Choose full or partial based on purpose, 회복, and sustained progress
참고문헌
- The Mechanisms of Muscle Hypertrophy and Their Application to Resistance Training
- Mechanisms of Muscle Hypertrophy: Current Understanding and Future Directions
- The Influence of Frequency, Intensity, Volume and Mode of Strength Training on Whole Muscle Cross-sectional Area in Humans
- Low- vs High-load Resistance Training for Strength and Hypertrophy: Meta-analysis
- Muscle Hypertrophy Is Independent of Load Across Upper and Lower Limbs When Effort Is Matched