Hypertrophy Rep Ranges: Choose the Right Weight + %1RM Chart
Setting load by "how many reps you can do with a weight" rather than "how many kg you lift" makes intensity easier to manage across exercises. If you can get to within 1-3 reps of failure, hypertrophy happens anywhere in the 6-15 rep range.
Rep count is your ruler for load. Once you understand the relationship between reps and weight (%1RM), you can zero in on the right load for any new exercise quickly.
Rep count: your yardstick for whether the load is right
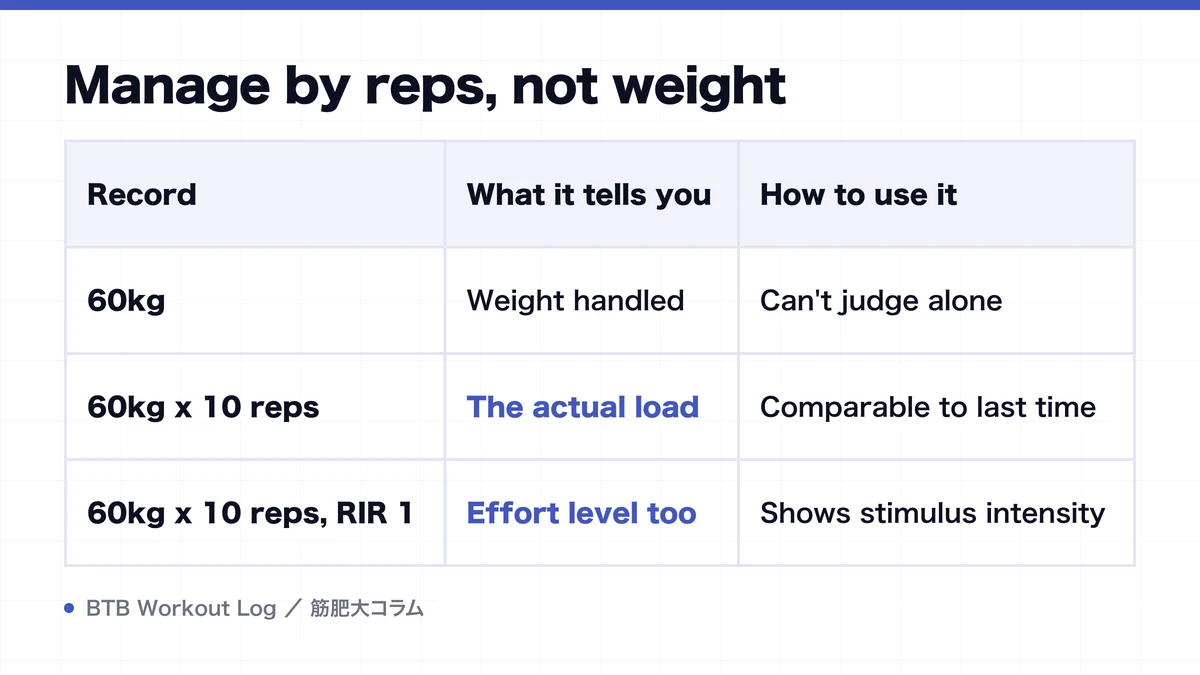
What your muscles need is enough load to drive them close to failure. The cleanest way to judge whether your load is on target: how many reps you can complete. If a weight gives you a 10-rep max, that's roughly 75% of the most you could lift once (1RM). A weight that brings you to failure - or RIR 1-3 - at your target rep count is the right weight for you. Managing load through reps rather than absolute weight is the practical approach.
Reps vs. %1RM reference chart
| Max reps (RM) | Approximate %1RM | Primary use |
|---|---|---|
| 1 | 100% | Strength testing |
| 3 | ~93% | Strength building |
| 5 | ~87% | Strength + muscle growth |
| 8 | ~80% | Muscle growth (main lifts) |
| 10 | ~75% | Muscle growth sweet spot |
| 12 | ~70% | Muscle growth (accessories) |
| 15 | ~65% | Muscle growth (isolation, finishing) |
These numbers vary between individuals, but they give you a solid starting point whenever you're dialing in a new exercise.
A step-by-step process for finding your working weight
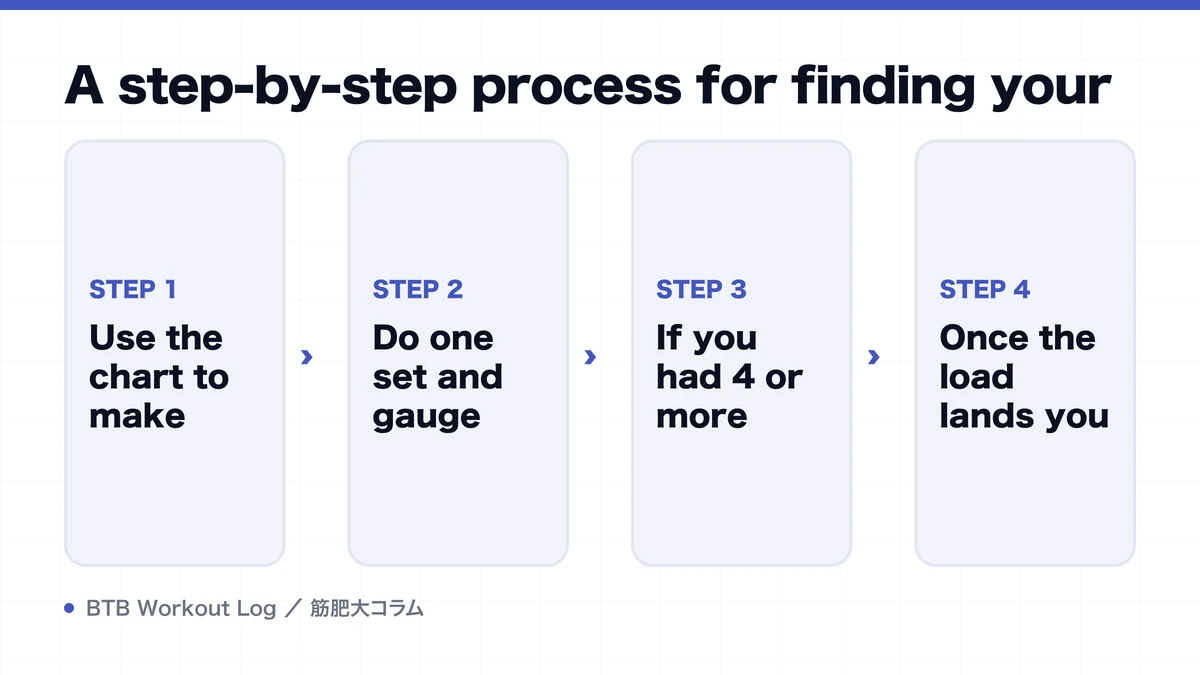
- Use the chart to make an educated first guess at the load (e.g., if targeting 10 reps, start around 75% of your estimated 1RM).
- Do one set and gauge how many reps you had left - your RIR.
- If you had 4 or more reps to spare, go heavier. If your form broke down before hitting your target reps, go lighter.
- Once the load lands you at RIR 1-3 at your target rep count, record it as your working weight for that exercise.
With that working weight on record, you don't have to rediscover it next session - you can focus on beating it.
Reps alone or weight alone won't get you there
"Add reps without touching the weight" or "keep the same reps but never raise the weight" - either approach on its own makes progress hard. Adding reps within your target rep range, then raising the weight and resetting the reps once you hit the top (double progression) is one way of progressing that keeps progress easy to manage. Having both reps and weight left to play with makes the cycle easier to run (progressive overload). For the broader picture of how rep ranges work, see the rep range guide.
FAQ
- Heavy weight with low reps or light weight with high reps - which builds more muscle?
- When you push close to failure, either approach produces similar muscle growth - that's the current consensus from research. See the high vs. low rep article for the details. In practice, 6-10 reps on the main lifts and 10-15 on accessories is a convenient and effective division.
- Should I test my 1RM regularly?
- Not if your goal is muscle growth. Near-maximal loads accumulate a lot of neural fatigue and make it hard to build volume, so they're not efficient for growth. Stick with loads that bring you to failure or RIR 1-3 in the 6-15 rep range.
- What do I do when my reps stop going up on the same weight?
- Once you've hit the top of your rep range on all sets, add weight and start back at the bottom of your rep range. That's double progression - and it only works when you have records to refer to.
Key takeaways
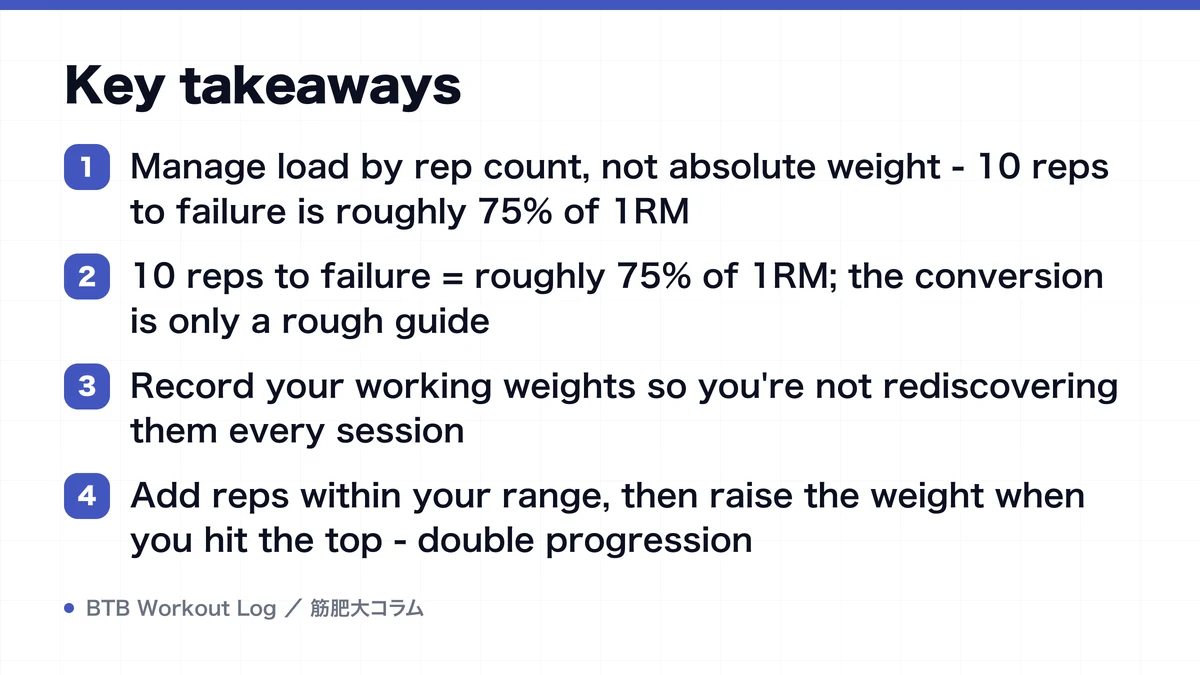
- Manage load by rep count, not absolute weight - 10 reps to failure is roughly 75% of 1RM
- 10 reps to failure = roughly 75% of 1RM; the conversion is only a rough guide
- Record your working weights so you're not rediscovering them every session
- Add reps within your range, then raise the weight when you hit the top - double progression